
|
|
|
|
|
|
|
|
|
|
|
STAVE DRUM WITHOUT A LATHE - ROUTING THE INSIDE Seth's Jig For Cutting The Inside |
|
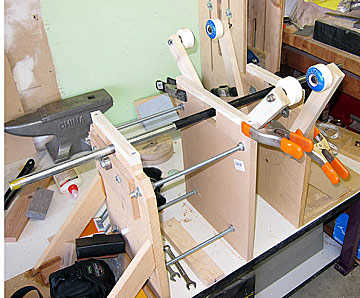
PDGood: Seth Dolcourt did a great job building a jig based on Koko's idea. Shown below are his well documented notes. sdolcourt: Ok, what's the reason for the new rig? Flex. As the shell gets thinner, it flexes more. I've found that my inside results have had a lot of chatter, and general ugliness that takes A LOT of sanding to fix. So the core of the jig - for lack of a better description - is a pressure bar. The shell needs something to press against when the bit cuts, and if the cut is supported, then the cut will be clean. Starting the mock up. The bar is a 3 foot 3/4" plated rod from the hardware store. I've covered some of the rod with 1/32" gasket material from Drum Foundry, though I suppose shrink tubing would be a better solution. It was a small job getting the bar wrapped. The arms are temporarily clamped in place - poplar boards from the hardware store. The plate in the middle is supposed to be adjustable in / out, to accommodate different shell depths. |
|
 |
|
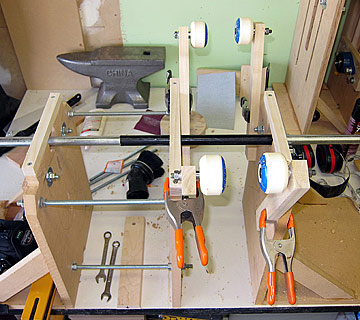
This bearing system should look familiar. I used it as the support for the outside turning rig. Nothing gets thrown out in my shop. Which is good and bad... 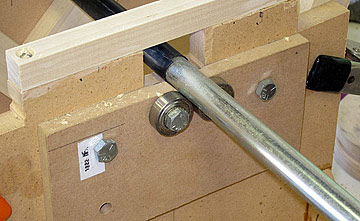
|
Straight on view of the bearings. The mounting holes are over sized, so I can noodle with the plate, move it up or down. 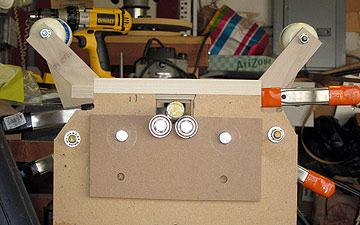
|
|
The shell sits on the bar, the skateboard wheels will juuuust touch the shell. The wheels are a guide, just to keep the shell on the bar. 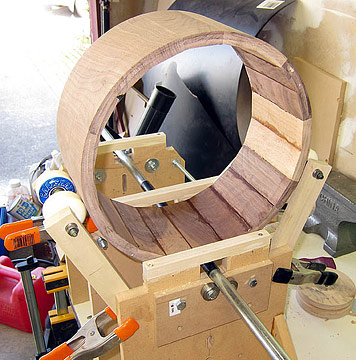
|
Mocking up the router track. Because I added the 3/4" bar, I had to glue on a 3/4" x 3/4" block of wood to raise the track mounts. 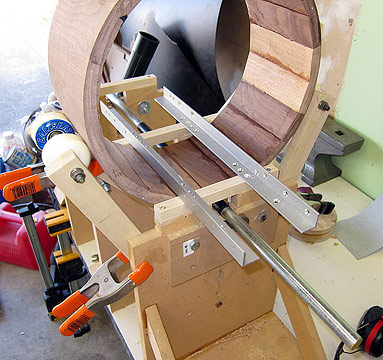
|
|
I've further elevated the track with 1/2" tall nylon spacers, which allowed me to move the track far enough apart to use a 6" wide baseplate. I've also bolted the arms in place (lower left/center). Top 5/16" bolt is a pivot, the bottom 5/16" bolt is in a 1/2" hole, so I can swing the arms a little bit. 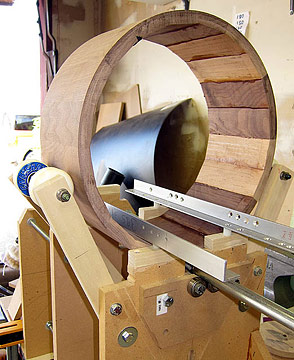
|
Underside of the jig, more bolts. The shell sits flush on the pressure bar. 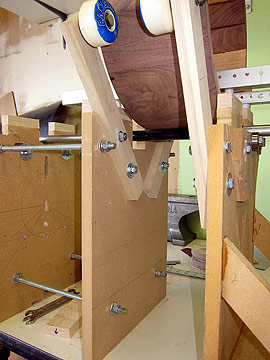
|
|
To keep hammering the point, the shell sits flush on the pressure bar. Hopefully, you get the drift that as the router bit cuts directly above the pressure bar, the bar helps the shell resist flex. 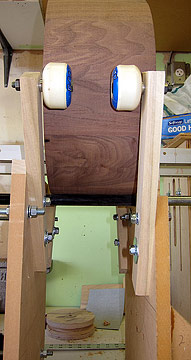
|
Never gets old, tying the shell to the rig! 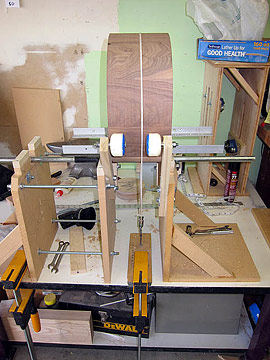
|
|
Ready to rawk! (Throw the heavy metal horns!) 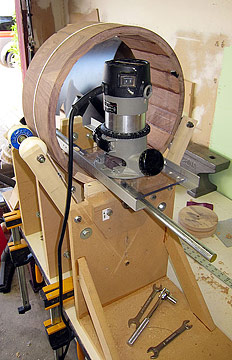
|
Left side of the rig. Ready to rawk! (Throws heavy metal horns again, because we're ready to raw....rock.) 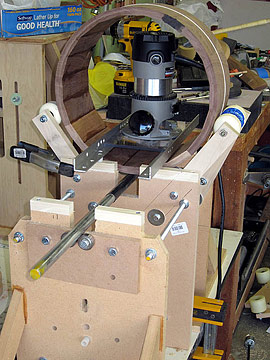
|
|
Look hard enough, you can see the black gasket material, which is the pressure bar. You'll have to imagine the router bit is directly over the bar, with the router as the meat of this machine sandwich. |
|
The black blob? An epoxy patch. Who sells black epoxy? No one, you have to make it yourself. Good old 2 part epoxy, and two drops of black Mixol pigment mixed in. Cuts nice and clean. This would be a great fix for a knot hole or other defect, if you didn't want to throw out the stave. 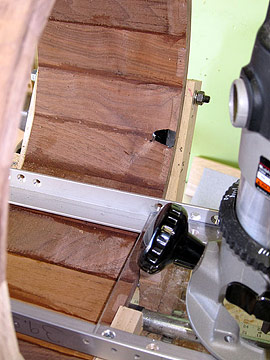
|
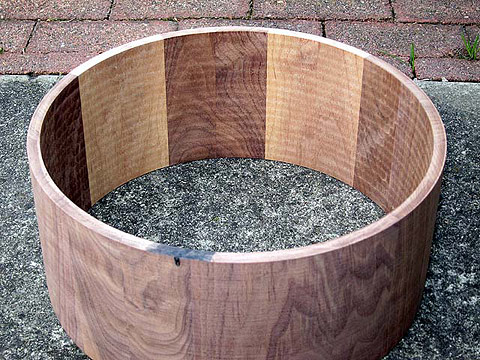
This is the cut quality. I'm fairly impressed. No train track lap marks, no chattering, barely any tear out at all. 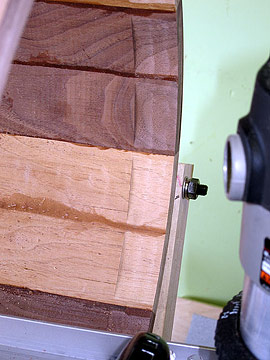
|
|
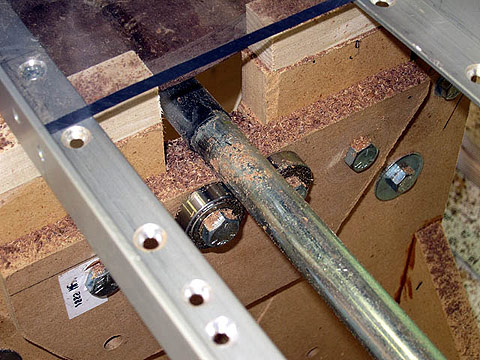
Yeah, those bearings. Completely unprotected. Ah, well. Vacuum cleaner for now, design some better bearing system later. |
|
|
Cleaning up the sins of the inside. Fixing the taper. Overall cut quality - not too shabby. 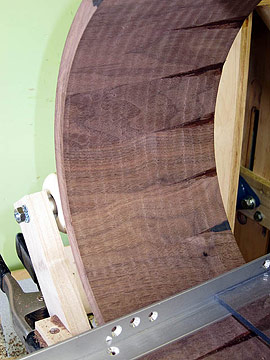
|
What a clever little mess. 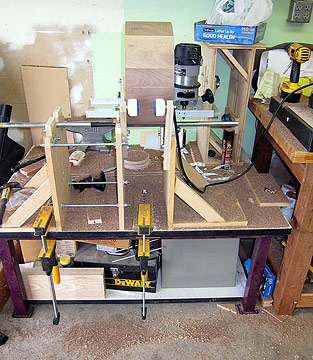
|
|
Done. Sanding required, of course, but this is soooooo much better than before. |
|