
|
|
Drum Kit Home
Connor's Cajon TutorialCuttingGluing the Box Adding Corner Braces Cutting the Hole Fastening the Tapa Rounding the Edges Finish Materials Applying the Finish |
|
|

|
|
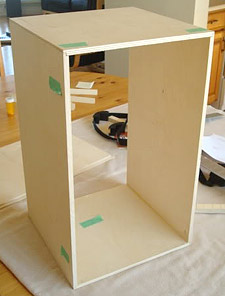
Connor's Cajon Reposted with permission from Connor Ellinger. Alright folks, I know some of you have bee waiting to see how this would turn out. Well I finished it off tonight, after a long break from working on it. I took a whole bunch of pics through the whole process so I will post them, along with a description of what's going on. Enjoy. The chosen wood was 3/8" thick Baltic Birch (7 Ply) for the 3 sides, top and bottom. Purpleheart veneer plywood was chosen for the front (1/8" thickness). 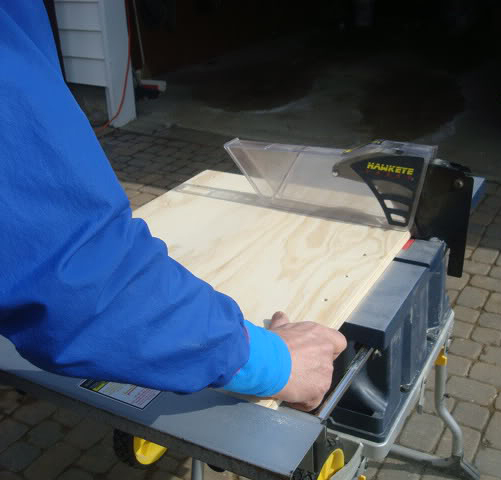 The saw was prepared and test cuts were made. 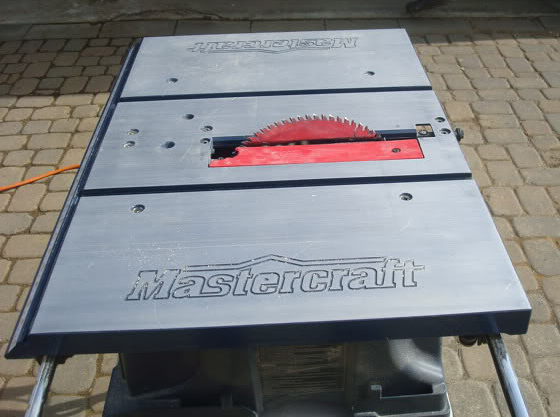 After the test cuts had been made, it was determined that the guard on the saw needed to be removed, to avoid marking the surface of the material. So, off it came. 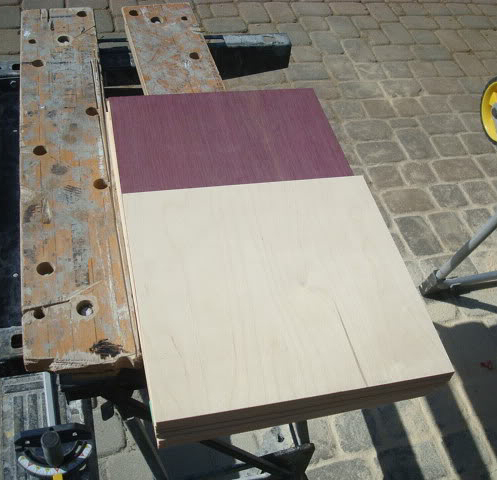 The individual pieces of wood were then cut to size. 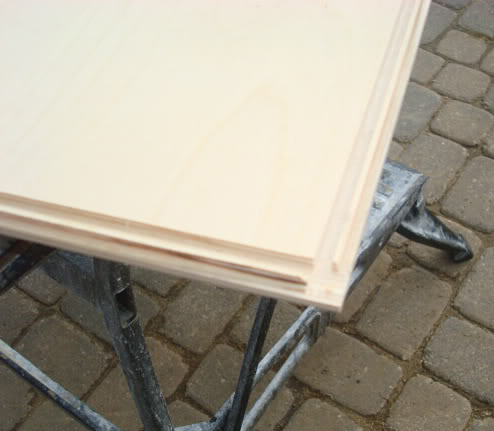 The cuts were made to the edges of all pieces; subtract the top, for Rabbit joints. 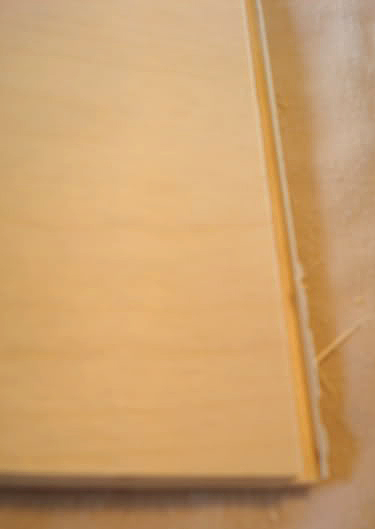 At this point the edges of the joints were still rough and unfinished, so they were cleaned up with a chisel. 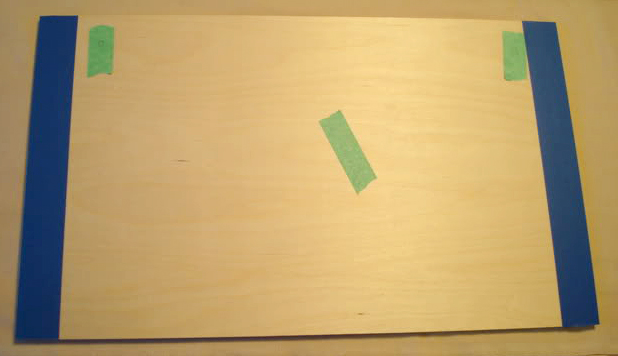 The edges were taped to prevent glue squeezing onto the surface of the wood, preventing the finish from penetrating. The pieces of tape are to indicate which corners go together. 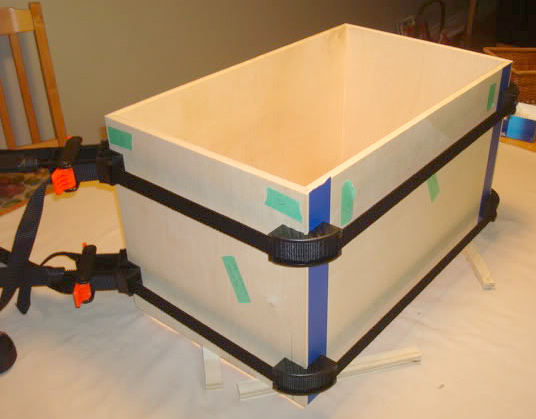
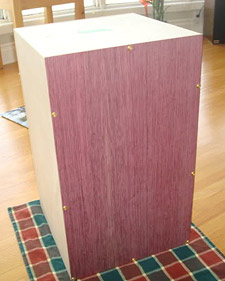
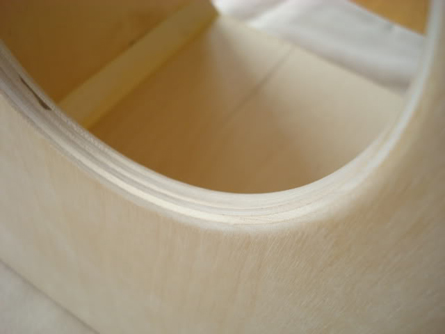
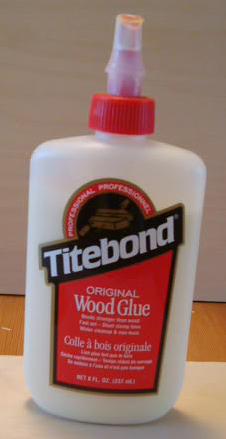 The 2 sides, top, and bottom were glued together. Band clamps were used to clamp the project while drying. Titebond wood glue was chosen for the job. 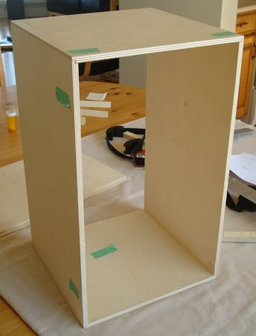 The clamps were removed, the protective tape peeled off, and alas! a box! 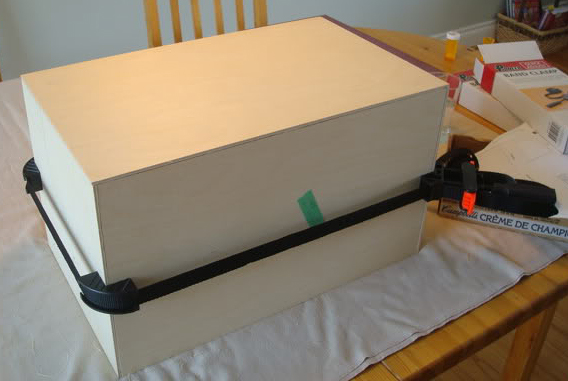 The top was dry fitted on the box, and any necessary chiselling was done to the joints. 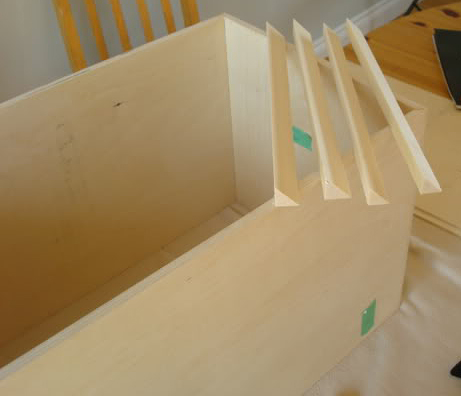 It was then decided, that corner braces should be added to provide structural support to the box. Here are the braces cut and ready for placement. 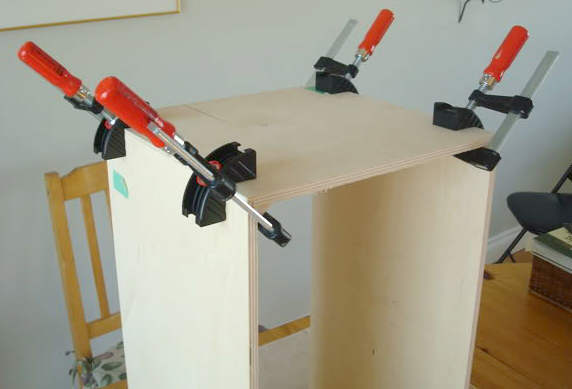 Gluing the braces up. 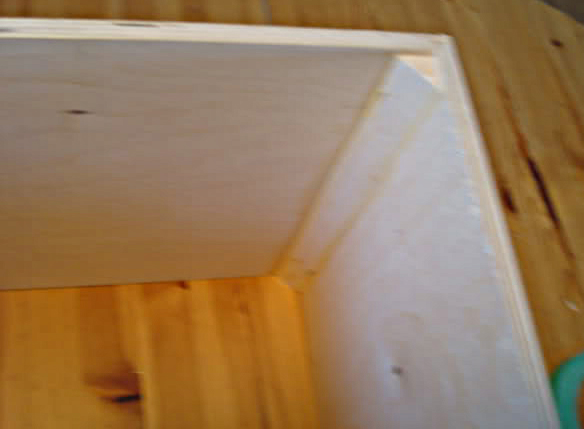 Corner braces finished. 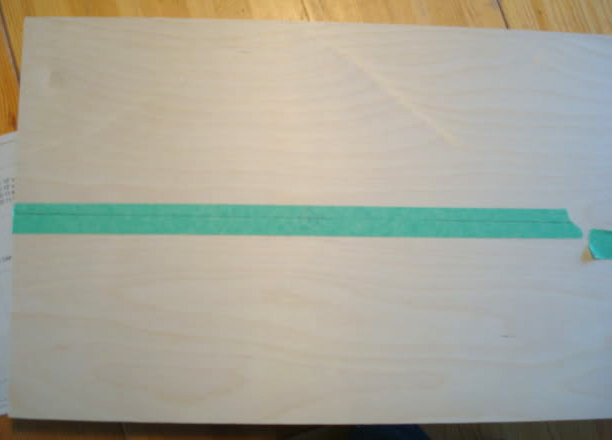 The hole needed to be cut in the back piece next. Tape was applied, the hole marked, and the hole cut. 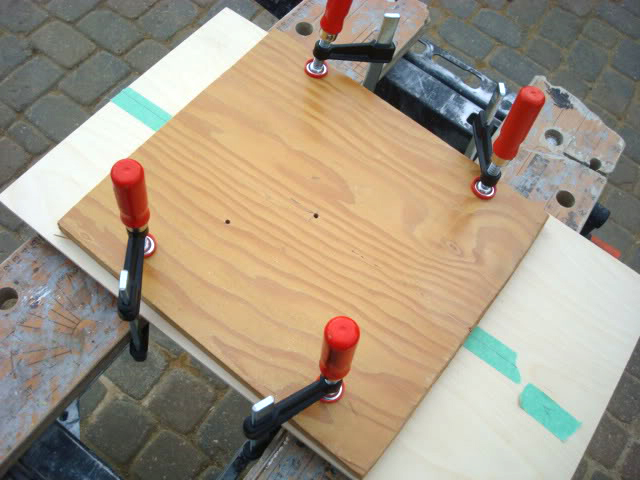 The birch was sandwiched between two scrap pieces of wood, to prevent tear out. 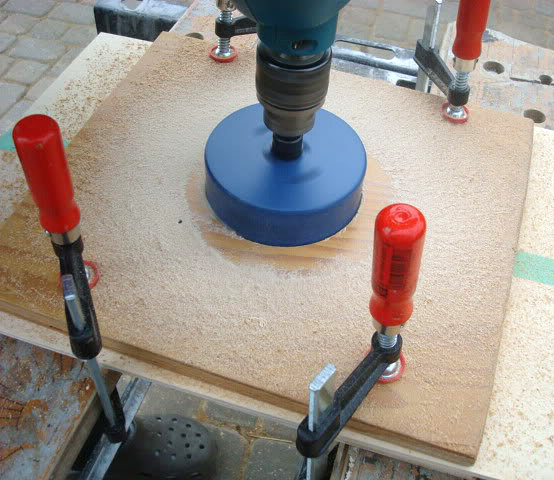 In this case, a 4" hole saw was used. 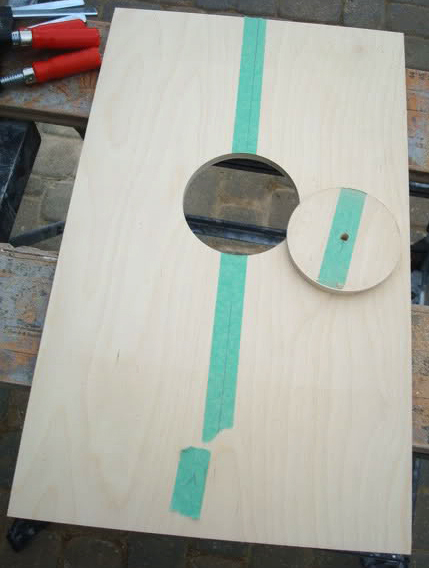 Hole revealed. 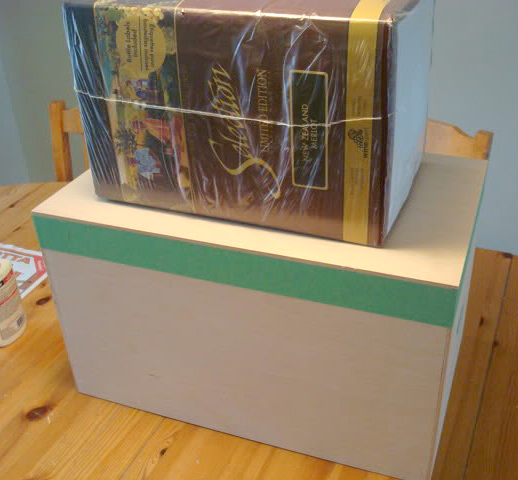 The back was glued on to the other 4 sides next. Protective tape was again applied to prevent glue staining the wood. A wine kit box was used to weigh down the piece while drying. 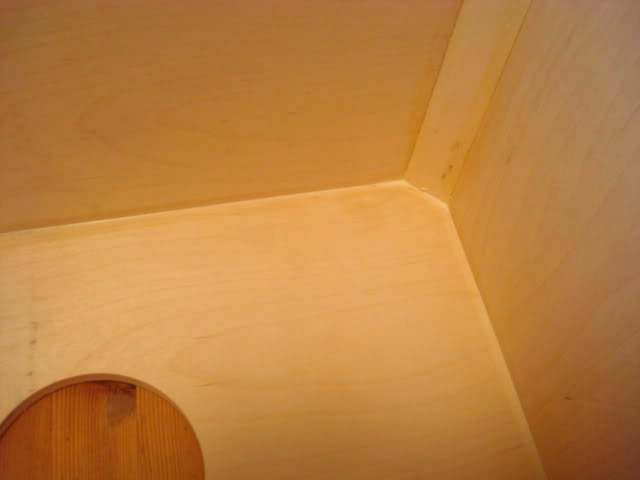 Glue was spread around the inner edges of the back piece to re-enforce the joint. 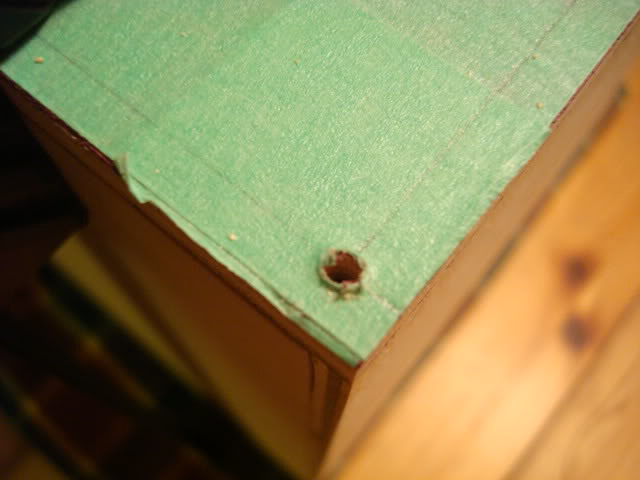 The edges of the purpleheart front piece, or 'Tapa', were taped off, and the holes were marked on the tape. 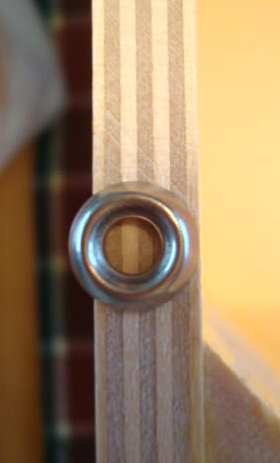
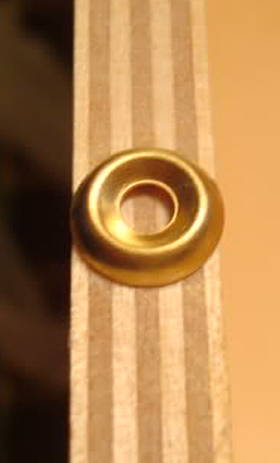 The original washers chosen were bigger than the thickness of the side panels, so new washers were bought. 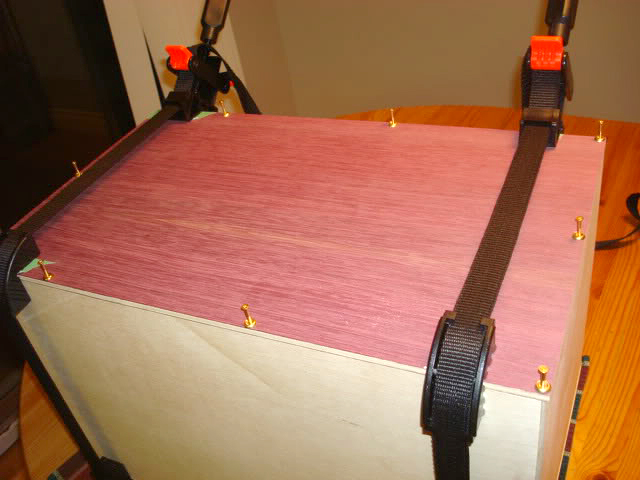 The screws were finger tightened into the holes, and then screw driver tightened. Half way through the process, I discovered that brass isn't as strong as you would think. One of the screws snapped in half.  The screw was then removed, and the front installed. 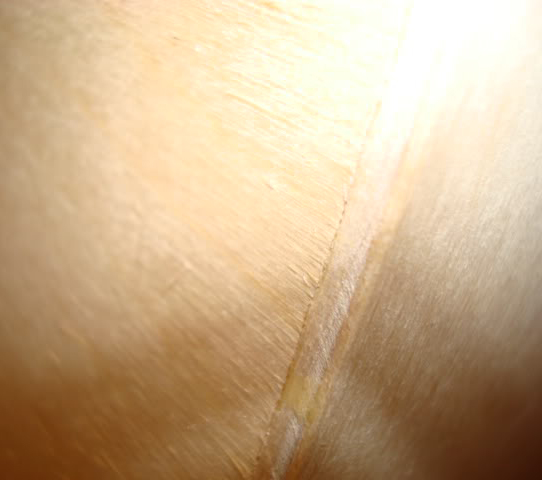 But all the edges were still rough, and sharp. 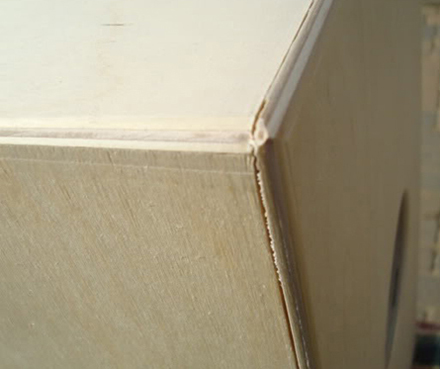
 So they were rounded over with a 1/8" round-over router bit. 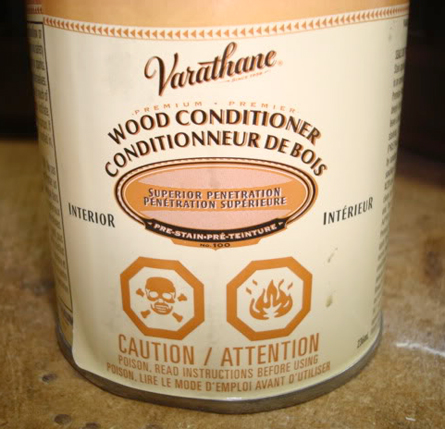 The chosen finishes used for the Cajon were first, a Varathane Wood Conditioner. This is used to give a more uniform finish, with less blotchy, uneven spots on soft wood species. 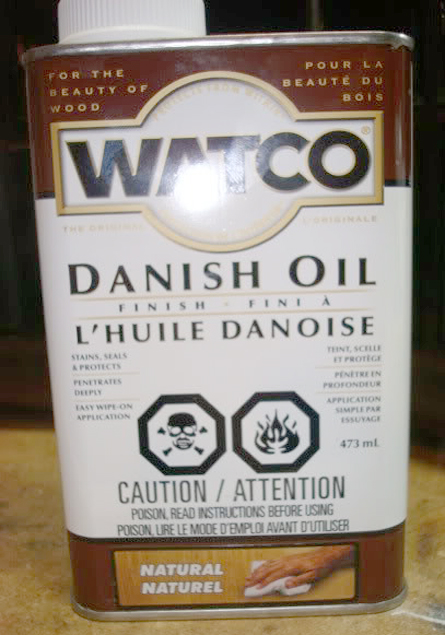 After that was a Watco Danish Oil finish. This was 'naturally' tinted, and had a slightly golden color on the birch. 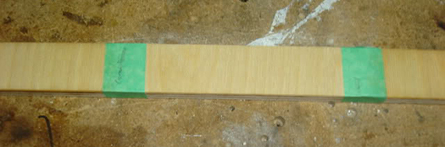 Tests were done on a birch scrap of the conditioner alone, the Conditioner with oil on top, and the oil alone. The conditioner was applied as a base coat to both the birch and the purpleheart. 2 coats of the oil finish were applied to the Birch, with a single coat being used for the Purpleheart. 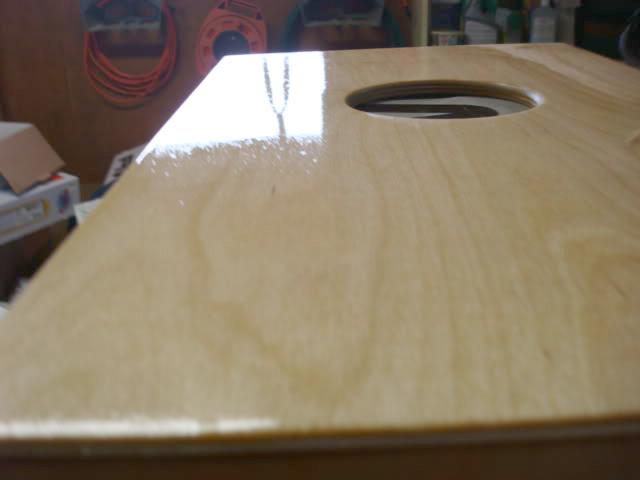 The surface of the birch was flooded, then allowed to absorb for 30 minutes. Following that, more finish was applied, wet sanded with 600 grit paper, and then wiped dry with a rag after 15 minutes. 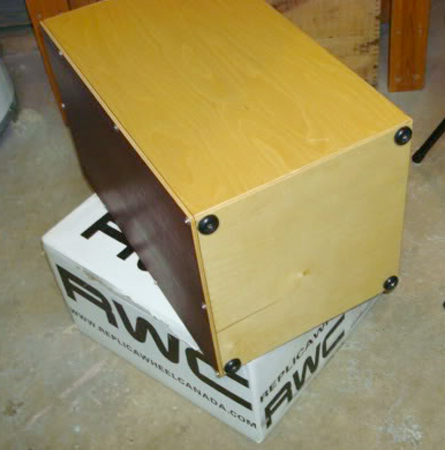 4 little feet were added to the bottom of the Cajon to allow some isolation from whatever it's sitting on. 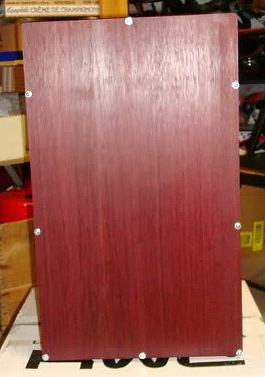
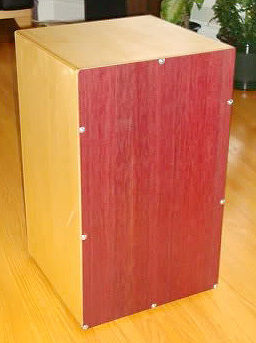 The front was installed, this time using Stainless Steel hardware as opposed to brass. The Cajon is now Complete!! |